|
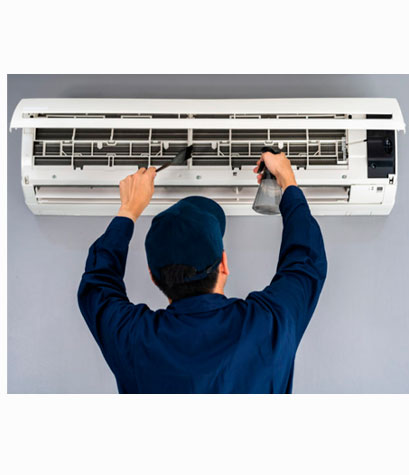
msyou6lg910 ac home repair essentials for reliable comfortStart with a clear symptomCooling issues usually sort into patterns: no cooling, weak airflow, short cycling, odd noises, a puddle under the air handler, or tripped breakers. Each pattern narrows the likely cause. Small clues matter. A steady hum, a brief click, or frost on a copper line can be decisive. Quick checks you can do in minutes- Thermostat: confirm Cool mode, fan on Auto, and a setpoint at least 3 degrees below room temp.
- Air filter: if it's gray or bowed, replace it. Airflow first, everything else second.
- Breaker and disconnect: reset once if tripped. If it trips again, stop and call.
- Vents and doors
- Condensate safety switch: if the pan holds water, clear the drain before resetting the switch.
- Outdoor unit clearance: remove leaves and keep 18 - 24 inches of space for breathing room.
A realistic-check before you go furtherRealistic check: if you see thick frost on the indoor coil or hear hissing, power the system off and let it thaw for 4 - 8 hours with the indoor fan on. Ice can damage the compressor. Capacitors store energy even when the power is off; do not touch electrical terminals. When uncertain, pause and make it safe. A tiny real-world momentIt's 7:30 pm, humidity is high, and the living room feels sticky. You slide out a matted filter, pop in a fresh one, and vacuum a slow condensate drain outside. Fifteen minutes later the frost fades, airflow strengthens, and the thermostat finally drifts downward. Not luck - just a simple ac home repair done safely. Safe DIY fixes that actually help- Replace the filter monthly in peak season; every 2 - 3 months otherwise. MERV 8 - 11 keeps air clean without starving airflow.
- Clear the condensate drain: remove the trap cap, flush with warm water, then vacuum the line from the termination point. Add a small splash of 50/50 vinegar.
- Reset a tripped float switch after clearing the drain. Never bypass it.
- Rinse the outdoor coil: power off, gently hose from inside out. No pressure washer, no harsh chemicals.
- Straighten bent fins with a fin comb or butter knife used gently.
- Secure panels and insulation to stop air leaks and sweating on the suction line.
- Document results: note supply/return temps and cycle length. Small data guides next steps.
What not to DIY- Refrigerant charging, leak checks, or brazing. Specialized tools and certifications apply.
- Capacitors, contactors, or control boards if you're not trained. Stored energy and live voltage are hazards.
- Variable-speed blower or inverter diagnostics. Follow manufacturer procedures via a pro.
- Compressor or reversing valve replacement. Pro-level only.
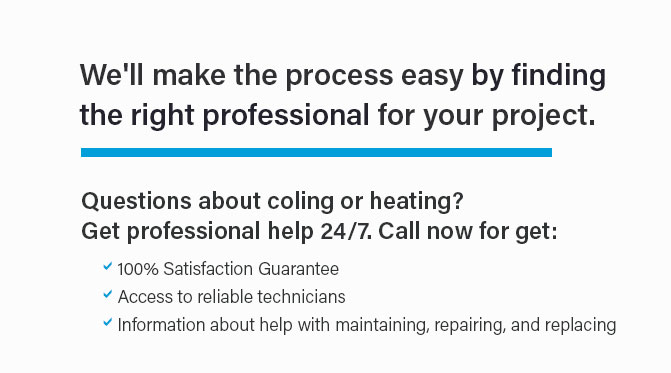
When to call support and what to askClear details help technicians help you. Be specific, be concise, and ask for measured facts. - Explain symptoms, what you tried, and any error codes or lights.
- Request measured numbers: static pressure, temperature split, superheat, and subcooling.
- Ask for a written checklist of tests performed and the findings.
- Clarify parts and labor warranty status; note model and serial numbers.
- Ask for the root cause and a prevention plan, not just part replacement.
Costs, time, and benefit snapshotBallparks vary by region and season. Filters are low cost; drain cleaning is modest; capacitors and contactors are moderate; blower motors and control boards run higher; refrigerant is priced per pound. Expect a diagnostic fee and occasional wait times for specialty parts. Benefit lens: fast basics restore comfort, while deeper repairs protect efficiency and equipment life. Preventive maintenance rhythm- Monthly: check the filter, clear debris around the outdoor unit, listen for changes.
- Seasonally: rinse the outdoor coil, vacuum the drain, verify thermostat schedules.
- Annually: pro tune-up with electrical testing, refrigerant performance check, and duct inspection.
Energy and comfort tweaks- Set fan to Auto for better dehumidification; use On briefly to mix rooms.
- Use small setbacks (2 - 3 degrees). Oversized swings can lengthen runtimes.
- Seal reachable duct seams with mastic on metal joints.
- Keep interior doors slightly open to avoid pressure imbalances.
- Add shade or attic insulation where practical; load drops and comfort steadies.
Parts and tools to have around- Correctly sized pleated filters.
- Wet/dry vacuum with a small hose adapter.
- Non-contact voltage tester and a simple thermometer.
- Fin comb, soft brush, and non-acid coil cleaner.
- Pan tablets or vinegar for algae control.
- Gloves and eye protection.
Small troubleshooting map- No cooling, indoor fan running, outdoor unit silent: check breaker and outdoor disconnect; listen for a click at the contactor.
- Weak airflow and icing: replace filter, run fan only to thaw, then rinse coil gently.
- Short cycling: thermostat placement, dirty coil, or low charge; gather numbers and consider a service call.
- Water near air handler: blocked drain or failed trap; clear the line and confirm slope.
Grounded expectationsHeat waves strain even healthy systems. Parts age, dust returns, and settings drift. Use a simple loop - observe, do safe basics, measure, then escalate - and you'll get steady comfort with fewer surprises. That's the quiet benefit of thoughtful ac home repair: practical support that shows up before emergencies.

|
|